How should I store my child’s art?
As you can imagine, we at LoLA have a lot of art in our lives! And we spend a lot of time wondering where to keep it. So here are a few tips which may come in useful – hopefully enabling you and your child to enjoy looking back at their creative journey in the years to come, but also to help you find ways of creating space!
When children create art at home, or when they bring pieces back from school, ask them a few questions for starters. For example:
- • Do you really want to keep this?
- • Is this something we want to display in our home right now, or shall we store it to save it for later?
- • Is this something you would like to turn into a gift or a card for family or friends who might also enjoy it?
Initially, we store our children’s art in a big transparent box, like this one from Ikea. If you can jot down the name and date on the artwork as you put it in, it will be easier to organise later. We find boxes easier than folders or portfolios simply because they can hold different sizes and shapes, as well as 3D work and sculptures.
The art generally stays in this box until the end of each academic year and then, hopefully over the summer, we get around to sorting it. This is a great opportunity for culling or ‘editing’. Think of yourself as a curator!
Sort the artwork into a separate pile for each child (if you have more than one), and then put it in sequence by year or by term. Sometimes it’s easy to group pieces together simply by folding a sheet of A4/A3 paper around them with names and dates written on the front.
Then there are a number of options:
Put them in a professionally-made photo book. For this you could use a company like Doodle Nest, where you send the artwork to them in a box and they photograph everything and send you back a beautiful book.
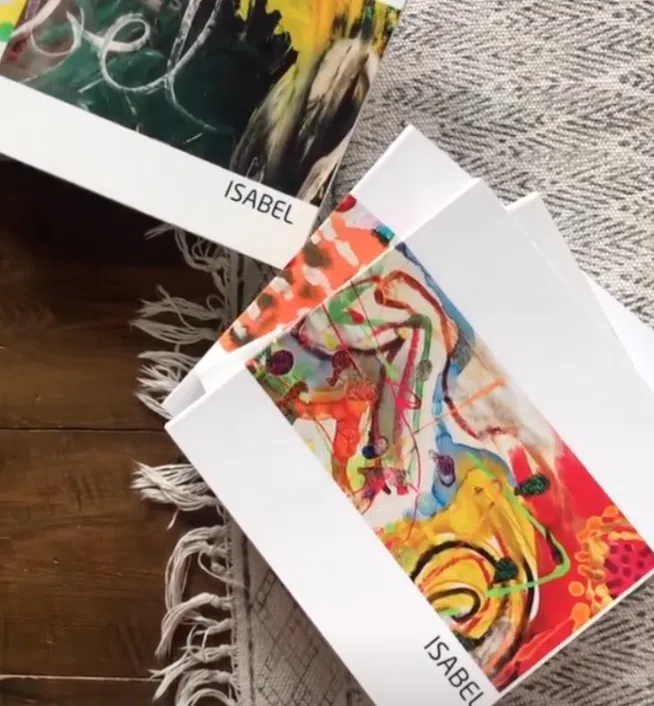
Or make your own photo book online. Depending on your budget, you could use Blurb Books, where you can create your own books simply from photos taken with your phone.
Or stick the artworks (or photos of them) into a book to create a sort of portfolio. There are many options available, for example like this one from Paperchase – simply tape or glue the artwork inside. Where there are 3D pieces, you will need to take photos of them to put into the book.
Whichever option you choose, don’t forget to date your book!
Back to the main news page